Motors are the heart and soul of HVAC systems, whether the system only has one or it has many. As such, motors are also the main reason an HVAC system stops working adequately or at all. When your client’s system isn’t providing enough heat, cooling air, or it’s just acting strange, you want to identify and fix the issue quickly so you can get the atmosphere of their home, office, or building back to comfortable as soon as possible.

SIGNS OF HVAC MOTOR FAILURE
There are a few signs to look for when trying to detect motor failure. Using your senses, do the following HVAC system checks.
- Listen: How is the motor running? Is it smooth and getting up to speed quickly? Or is it squeaking, grinding, and weak? Strange sounds can mean the bearings are worn or there are loose components in the motor.
- Feel: The first sign of motor failure is usually low, weak, or no airflow at the vents.
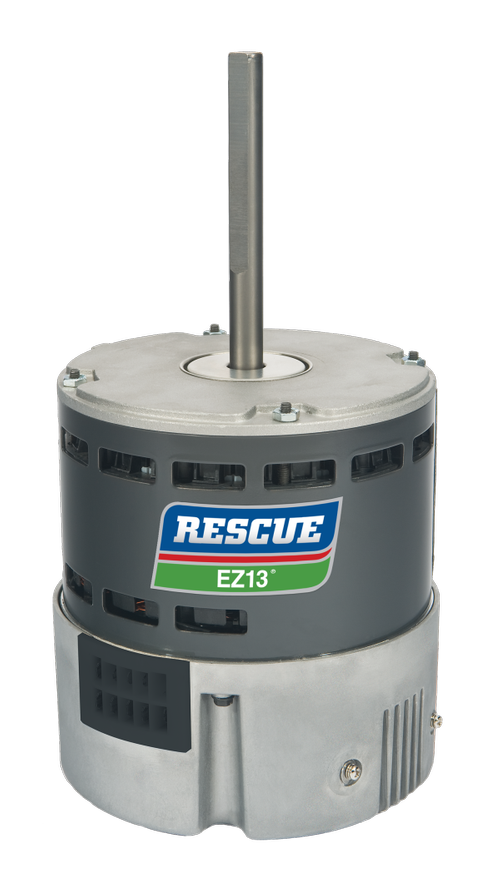
- Feel: Feel the outside of the motor for overheating and vibration.
- Smell: An overheated motor will give off a burning smell.
- See: Visually inspect the motor for a buildup of debris that may be preventing the motor from off-putting heat.
Additionally, your client may have noticed an unusual increase in their energy bills. Meaning the motor has had to work much harder to keep up with the demands of the system.
TROUBLESHOOTING YOUR HVAC MOTOR
Without regular maintenance and inspection, a motor might bring the entire HVAC system to a halt. Below are the steps to troubleshooting (link to How HVAC Motors Work article).
MOTOR INSPECTIONS – EXTERNAL
First and foremost, ensure that power is reaching the motor. When a motor stops running, it can look like the motor itself is at fault, but that isn’t always the case. Loose connections and corroded contacts can prevent power from reaching the motor as it should, causing the motor to run poorly or not at all. There are many reasons a motor won’t run that aren’t necessarily caused by the motor itself. You’ll need to inspect the full system, including relays, capacitors, fuses, circuit breakers, switches, etc. Are any “blown” or “tripped?” Use a multimeter to double-check that the resistance across these devices is at zero.
Testing if power is reaching the motor is simple. Using a multimeter, verify the voltage present at the motor’s input terminals. The reading should match the voltage rating of the motor nameplate. If the voltage is correct at the motor and the performance issue is still present, it’s time to shut off the power to the motor to complete further examination.
Safety Note: Every precaution should be taken when working with high voltages to avoid the risk of serious injury. Ensure that no power can reach the motor while performing the following inspections. If the motor is still hot from running, allow it to cool down before continuing.
Manually (by hand) rotate the motor shaft. If it doesn’t rotate freely, the motor may be jammed which can be caused by the load or faulty or worn bearings. If the shaft is too loose or wobbly, this is also a sign that the bearings are worn or damaged. If the shaft rotates smoothly and without jams, it’s time to inspect the motor’s internals.
MOTOR INSPECTIONS – INTERNAL
If the correct power is reaching the motor and the shaft moves freely as it should. Now it’s time to start testing the most important component of the motor’s internal circuit, the motor windings.
Electric motor windings can fail in either an open circuit or short circuit state, and neither will allow the motor to continue running. To test for these failures, we’ll check the resistance of the motor windings. Using a multimeter in the ohm setting, you’ll test the resistance between the common wire and the speed wire, ensuring you test each speed wire for multi-speed motors. Double-check the recommended resistance rating with the manufacturer.
An “OL” reading means that the winding has failed in an open-loop state. This is an indicator that the windings have burnt and split apart and the motor needs replacement. A “0.00” reading means that the winding has failed in a short circuit state. This is an indicator that the winding insulation has melted, and the windings have fused or shorted out and the motor needs to be replaced.
If the readings match the manufacturer-recommended rating, test to see if the speed wire has grounded to the motor body. This can be tested with the multimeter as well. If the speed wire has grounded to the body, the multimeter will read “OL” when tested between the speed wire and the motor frame.
Check out this podcast discussing operation of a few motors used in the HVAC industry
CAPACITOR INSPECTIONS
Many of the HVAC motors you’ll encounter are equipped with one or more capacitors. If you encounter a failed motor with a capacitor and you have already completed the above inspections, the issue could be the capacitor. Much like the motor windings, capacitors can fail in open circuit or short circuit states, and both won’t allow the motor to operate properly.
First, you need to match the capacitance rating of the capacitor to the recommended rating found on the motor’s nameplate. A capacitor that is too small will not provide enough torque to start the motor. If the ratings match, discharge the capacitor before completing the following checks. A capacitor can hold a charge for some time even after being disconnected, this charge is enough to cause serious injury to the operator.
Remove the capacitor from the circuit and visually inspect for wear and damage. Cracks, swelling, and leaking fluid all indicate a faulty capacitor that needs replacement. If the capacitor appears fine, test the capacitance value. Using a multimeter with a microfarad function to test the capacitance across the terminals, the reading should match the rating on the capacitor. If the reading is low, open circuit, or short circuit, it’s time to replace the capacitor.
ECM MOTOR SPECIFIC INSPECTIONS
When it comes to ECM motors, you will complete the above tests but first, you need to inspect the electronics module. The electronics module is most often found in the back end of the motor. Disconnect the module and allow it to sit for a moment to give the capacitors time to discharge. Visually inspect the module for signs of failure or damage. If you find any blackened, cracked, or swollen components, a whole new replacement motor is required. If the module appears fine, reconnect it.
Next, using the multimeter, test that voltage is present at the 24V common source wire. If the correct voltage is reaching the motor, test each speed wire by connecting them one at a time to the 24V common wire and running the motor. If there is no movement, test each winding as per the internal motor inspections section.
REPLACING HVAC MOTORS
After thoroughly inspecting the motor and completing the above troubleshooting tips, you will be able to determine if the motor can be repaired or needs to be replaced. Replacing the HVAC motor can be a difficult task, especially if you don’t know what you are looking for. Here’s how to make it simple.
First, you need to know why the old motor failed. You must make sure the new motor is up to the task at hand to avoid the chance that the new motor will fail in the same way. Need a little extra help with this? Your supplier should have experts on staff to help you with your electric motor projects.
Locate the motor’s nameplate and transcribe the ratings or take a picture to avoid any mistakes. Ratings and features you should take note of are:
- Diameter of the motor body and how it mounts
- Direction of rotation
- Horsepower (HP)
- Voltage (V)
- Number of speeds and their RPM ratings
- Capacitor sizes
- Brand (especially if your client has a preferred brand)
Once you have noted the important ratings and features, provide this key information to your motor supplier. They will get back to you with a quote on a new motor suited for your application. If you’re the type who likes to research for yourself, there are up and coming online platforms that allow you to easily find OEM and direct replacements for your HVAC motors. You simply input the required information and you’re shown all the motors that fit your application, even helping you find cheaper options with quicker delivery times.
SUMMARY
Motors are the most common source of HVAC system failure. Understanding how they work and what causes them to fail puts you at an advantage for troubleshooting the electric motors you encounter. Not sure where to start? Follow the above troubleshooting guide to find the source of your failure and determine if repair or replacement is the best option.
When replacement is needed, know which ratings you need to bring to your supplier so you can find a replacement quickly and at a great cost – keeping your customers satisfied with you and your company.