Step By Step Refrigerant Recovery Process
I often see new techs asking how to recover or experienced techs asking how to recover faster, so let’s look at both.
If you are looking to connect with a strong culture of HVAC technicians, check out the subscription-based HVAC Know It All app.
This all originated from some personal trial and error when an air conditioning manufacturer I worked for had a recall, a missing Schrader core at the receiver service valve (king valve), of all things.
This was a possible disaster for an unsuspecting tech.
Remove the cap expecting a valve core, and well… Not fun.
So it was time to install a single valve core in 50 operational units in critical spaces, each holding between 50 and 100 pounds of R-410A.
I had a reasonably repeatable situation on my hands, and I had the opportunity to try all sorts of things: recovery cylinder size, hose size, hose type, etc.
I’ll cover all this at the bottom of this article, but we’ve got to start with the basics!
How Do We Recover?
There are two typical methods, direct recovery, and push/pull.
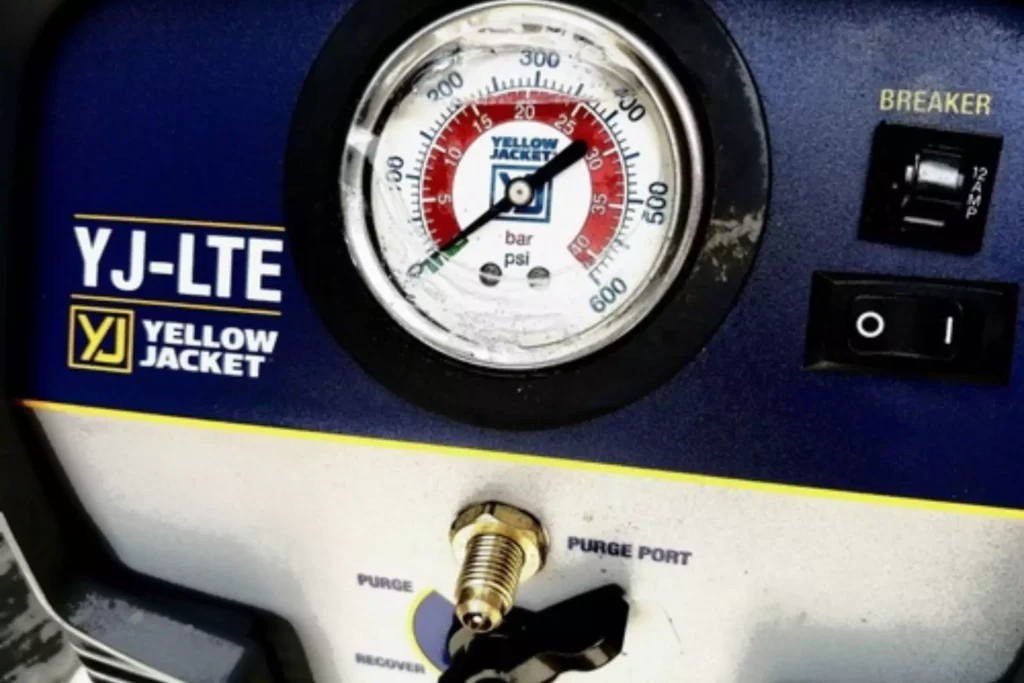
You should always familiarize yourself with the equipment you are working with, but I’ve included a simple diagram of how to connect the required equipment and a “step-by-step” guide for the newer techs.
Direct Recovery
This is our typical recovery method, which will be how every recovery task will finish.

1. Start with all valves closed (recovery cylinder, recovery machine, manifold, hoses.)
2. Setup hoses as shown in the diagram.
3. ZERO/TARE the refrigerant scale.
4. Open hose valves, core removal tool valves, or service valves.
1. —The below steps will vary with your recovery machine—
5. Set the refrigerant recovery machine to recover.
6. Open the high side of the manifold for liquid recovery.
7. PURGE THE HOSES OF AIR, loosen and unseat the hose connected to the recovery tank until the refrigerant is present, and retighten.
8. Fully open the vapor valve on the recovery cylinder.
9. Turn on the recovery machine.
2. —The below steps should be standard for most recovery machines—
10. The manifold high side valve may need to be adjusted to throttle refrigerant flow into the refrigerant recovery machine to avoid liquid slugging.
11. When the liquid recovery is complete, fully open both the high side and low side manifold valves.
12. Many recovery machines will turn off once the system reaches a vacuum.
13. PURGE THE RECOVERY MACHINE – this one can be pretty specific – so check your manual if you’re unsure.
14. Close all valves and recovery is complete!
Push/Pull
This will be your faster option if the system has 15 or more pounds of refrigerant.
The more refrigerant the system holds, the more time you’ll save.
✅ PRO TIP: Using an inline sight glass during push-pull recovery will allow you to visually determine when the liquid flow has stopped.

1. Start with all valves closed (recovery cylinder, recovery machine, manifold, hoses.)
2. Setup hoses as shown in the diagram.
3. ZERO/TARE the refrigerant scale.
4. Set the recovery machine to recover.
5. PURGE THE HOSES OF AIR (this is done slightly differently than in direct recovery.)
a. Open the liquid line service valve or core tool and then loosen and unseat the hose connected to the liquid port on the recovery tank until the refrigerant is present and retighten.
b. Open the vapor line service valve or core tool and then loosen and unseat the hose connected to the vapor port on the recovery tank until the refrigerant is present and retighten.
6. Turn on the recovery machine.
7. When liquid recovery is complete, switch to Direct Vapor Recovery.
Now Let’s Speed It Up…
Valve Core Removal Tools
• If you were only going to change one thing – this is it! If you’re stuck pulling through valve cores, get two of these. They’ll even help speed up your evacuation.
Recovery Cylinder
• Make sure the cylinder is clean and has been evacuated to 500 microns or less. And NEVER fill beyond 80%. This allows for the expansion of the refrigerant.
• If it’s practical, use a larger cylinder; this will make the recovery go quicker.
Hoses
• Avoid hoses with “anti-blowback” or “low loss” style fittings.
• Standard hoses are ¼” – using larger diameter hoses will get you faster recovery. They’re often marketed as “heavy duty,” “charging,” or “vacuum” hoses.
• Use hoses that are as short as possible.
Temperature
• Cool down the recovery cylinder– this will drop the pressure of the recovery cylinder.
• With many recovery machines, you can use the fan to draw air over the recovery tank.
• Water will work even better, but you’ll need water flow.
• Cool down the refrigerant! This one tends to be your best bet if you’re dealing with large volumes of refrigerant – there are heat exchangers available just for this purpose.
Filter It!
• If you suspect the system refrigerant to be dirty, use an inline filter drier at the inlet to the recovery machine.
With methods ranging from nothing new required to a whole new rig for recovery, you’ve got choices to speed up your recovery in just about all applications.
Give some of these a try and see how they work for you.