Refrigeration System Evacuation Procedure Explained
Pulling a proper vacuum is vital to the operation and longevity of any refrigeration or air conditioning system.
Moisture and other contaminants that are not removed can wreak havoc on system internals over time and cause premature failures.
Let’s go through the steps of pulling a proper vacuum.
1. Start with fresh oil in your pump.
Vacuum pump oil has the ability to grab hold of moisture and contaminants.
New oil will speed up the evac process.
When changing the vacuum pump oil, it is recommended that you change the oil while it’s warm.
Warm oil holds more contaminants than cold oil.
Changing the oil while it’s warm will help remove maximum contaminants from the base of the pump.
2. Attach vacuum-rated Schrader core removal tools to the service fittings that will be utilized during the vacuum process and remove the Schrader cores.
By removing the cores, you are removing 90% of the restriction that slows down the evacuation process.
Keep in mind some manufacturers use service fittings with non-removable cores, pay close attention to this.
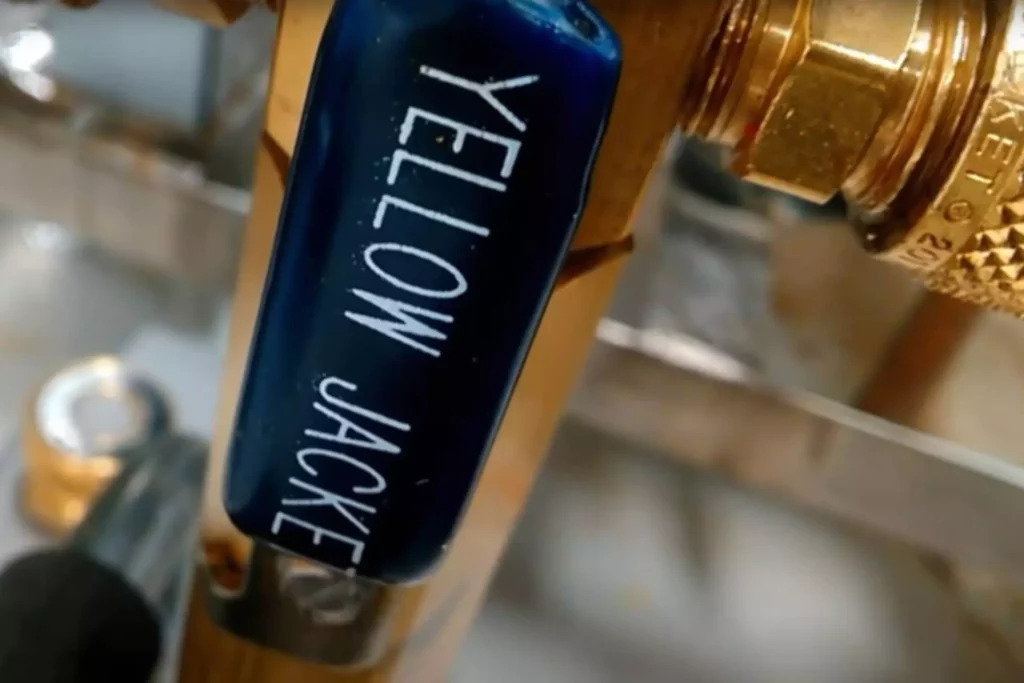
3. It is recommended not to pull a vacuum through a charging manifold due to many potential leak points.
Use a vacuum manifold, such as the Yellow Jacket SuperEvac, and attach it to the 3/8” port on the vacuum pump.
4. Attach, at a minimum, 3/8” vacuum-rated hoses to each core removal tool, and attach the other end of each hose to the vacuum manifold.
Use Nylog Gasket and thread sealant at each connection point. This will help to maintain a leak-free process.
Tap the image for more info on this product.

5. Attach a micron gauge to the system at the furthest point from the vacuum pump, if possible.
The other option is to attach the micron gauge to the tee of the core removal tool.
It is important to keep the micron gauge mounted above the system piping.
This will prevent system oil from entering the micron gauge, possibly causing the vacuum gauge to malfunction.
Tap the image for more info on this tool.

6. Now, you can begin the evacuation process.
Please read the manufacturer’s vacuum pump start-up procedure before starting the pump.
7. The evacuation process is not dependent on time or when your compound gauge hits 29.92” Hg.
Use the reading on the micron gauge to determine when a proper vacuum has been achieved.
It is common within the industry to set a vacuum target of 500 microns.
8. Once the target vacuum has been achieved, isolate the system from the pump and observe the micron gauge reading.
A common term for this procedure is called a “decay test.”
If the system is leak and contaminant free, you may see a slight rise on the micron gauge, which will level off and flatten out, or you may see no rise at all.
If a system leak exists or contaminants are still present, you will see a quick rise on the micron gauge that will continue to climb.
✅ Note: It is very important to use vacuum rated hoses and core removal tools and ensure that each connection point is sealed with Nylog thread and gasket sealant.
If the equipment used is not vacuum-rated, connection points on your vacuum setup may begin to leak during the decay test, mimicking a system leak that is not actually present.
9. Now that you have achieved vacuum Zen, the refrigerant charge must be added.
Add refrigerant slowly until the system pressure is reading a slight positive.
It is very important to know the positive pressure your micron gauge can withstand, so it does not get damaged during this process.
Once positive pressure, below the upper limit of the micron gauge, has been achieved, the Schrader cores can be re-installed, and the micron gauge can be removed.
10. Add the remaining charge.
11. Happy HVACing!
✅ Note: When pulling a vacuum on a system with a solenoid valve, it is highly recommended that the valve is completely open at all times during the evacuation process.
Use the Yellow Jacket Solenoid Valve Magnet to perform this task.
Tap the image for more info on this tool.

Check out the video for a job site example.
Check out the link to my YouTube channel for more tips, tricks, and troubleshooting videos, and check out The HVAC Know It All podcast here or on your favorite podcast app.
Happy HVACing…